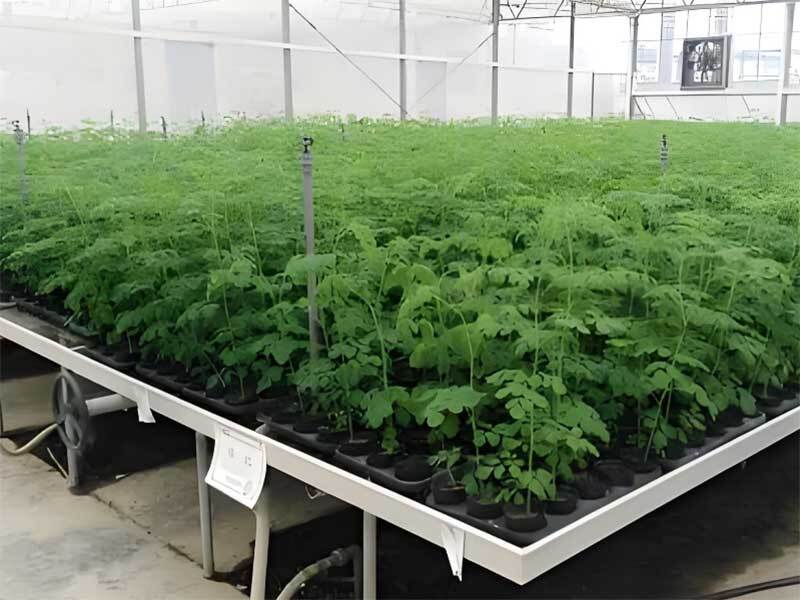
A Complete Guide to Growing Moringa from Seed
Introduction
We will walk you through the essential steps of growing moringa tree from seed. This includes growing conditions, soil requirements and watering needs.
How to Source Quality Moringa Seeds?
Start by looking for reputable nurseries, gardening stores, or online suppliers. Make sure they offer detailed information about their seeds. They should have a track record of customer satisfaction.
When buying online, check that the seller provides information on seed origin, freshness, and packaging. Fresh seeds are essential for a better germination rate. So avoid old or improperly stored seeds. These can lose viability over time. Moringa seeds should be plump and free of any visible damage.
Preparing for Germination
Prepare Moringa Seeds
Soak the seeds in water for 24-48 hours. This can soften the seed coat. Water will penetrate the seed. This speeds up the germination process.
Best Soil Type for Moringa
Moringa prefers well-drain soil with a pH 6.2-7.0. Amend heavy clay soil with organic matter. You can also use a succulent potting mix.
Choosing the Right Container
Start your moringa seeds in 12 inches deep pots. This allows room for root development. A container with good drainage can prevent water buildup.
Paper Towel Germination vs. Direct Soil Planting
Place the moringa seeds in a damp paper towel. Then, put the towel inside a ziplock bag or container. Keep the bag in a warm location to get sunlight.
Plant the seeds directly into the well-draining soil. Moringa doesn't thrive in waterlogged conditions. Plant the seeds about an inch deep in pots or the ground.
How to Grow Moringa Tree from Seeds?
How to Grow Moringa from Seed?
Place the seeds 1 inch deep when growing moringa from seed. Don't plant the seeds too deep. They won't push through the soil. Planting too shallow may expose the seed to pests.
Cover the seed lightly with soil when growing moringa from seeds. Water gently can avoid displace. Space the seeds 2-3 feet apart if you are planting more than one. Because moringa trees can grow quite large over time.
Temperature Requirements
Moringa grows well in USDA hardiness zones 9-10. Place the pots in a sunny location. Keep the temperature at 75-90°F. Moringa seeds typically germinate in 7-14 days.
Transplant the tree to large pots when it is a few months old. You can also direct planting in the ground. Ensure the planting site is free from strong winds and frost. If your region is cool, keep your moringa tree in a large pot. You can bring it indoors during cold months.

Caring for Young Moringa Plants
Watering Schedule
Watering is essential in the early stages. But it’s equally important to avoid overwatering. Water your young moringa plants regularly. Allow the top layer to dry out between waterings.
Moringa does not tolerate waterlogged soil. This can lead to root rot. The plant becomes more drought-resistant when it matures. So you can gradually reduce the frequency of watering.
Sunlight Requires
Make sure they receive 6-8 hours of direct sunlight per day. Because moringa loves warmth and light. Moringa trees will become leggy and weak without adequate sunlight.
Fertilizing
You can use well-rotted manure and liquid seaweed. Avoid heavy chemical fertilizers. Because moringa is highly efficient at extracting nutrients from the soil. Lightly apply compost every few weeks. This can provide all the nutrition your young moringa plants need.
Pruning
Moringa trees are known for their rapid growth. They often reach several feet in just a few months. Sometimes it can reach 10-15 feet tall in its first year.
Pruning can manage this growth and encourage a bushier, more manageable tree. In the first few months, trim the top branches to promote lateral growth. This results in a more compact, sturdy tree.
Pruning also encourages more leaves. Regular maintenance in the early stages. This helps shape your moringa tree and ensure strong, healthy growth as it matures.
Troubleshooting Common Growing Issues
Common Pests
Pests can occasionally affect moringa plants. For example, pod fly, budworm and hairy caterpillars. These small insects can weak the tree and stunt its growth. You can use neem oil for these pests. Ladybugs can also control aphids.
Stunted Growth
Inadequate sunlight or poor soil conditions can cause stunted growth. Moringa requires full sun. Consider moving it to a sunnier spot if the tree is in a shaded location.
Additionally, poor soil quality can hinder growth. Ensure plant your moringa in nutrient-rich, well-draining soil. Amend it with organic compost or fertilizers if necessary.
When and How to Harvest Moringa
Moringa Leaves
You can harvest moringa 6-8 months after planting. This depends on growing conditions. The leaves are the first part to be ready for harvest.
Once the tree reaches a few feet in height, you can start picking the tender, green leaves. Just cutting the stems or handpicking individual leaves. Regular harvesting of leaves encourages continuous growth and a bushier tree.
Moringa Pods
Harvest moringa pods when they reach 6-12 inches in length. This is usually within the first year. You can eat young, tender pods like green beans. You can cook or use old, mature pods for seeds.
Moringa Seeds
Harvest seeds once the pods dry and turn brown on the tree. Crack open the dried pods to collect the seeds. You can plant or use them for medicinal purposes.
Conclusion
Following these easy steps will help you successfully grow moringa from seeds. Start from seed today and enjoy the many uses of this "miracle tree."

